How to plane
Planing, like drilling or sawing, is a woodworking technique used for levelling and smoothing surfaces. Today, this job can be done by hand planes and modern, electric planes. This article provides you with practical tips, step-by-step instructions for planing straight wooden surfaces and answers to the most frequently asked questions about planing, so that you are prepared for any eventuality.
Safety & Liability Disclaimer:
The content on this website is for informational purposes only. The project described on this page involves the use of sharp tools, heavy equipment, and physical exertion which carry inherent risks of injury. Lidl Great Britain is not liable for any damage, loss, or injury resulting from the use or misuse of the products advertised or the information provided.
Before Use:
Always read the manufacturer’s instruction manual in full. Ensure you are wearing appropriate Personal Protective Equipment (PPE), such as gloves, eye protection, and sturdy footwear. Use tools only for their intended purposes. If you are unsure how to operate a tool, consult a professional.

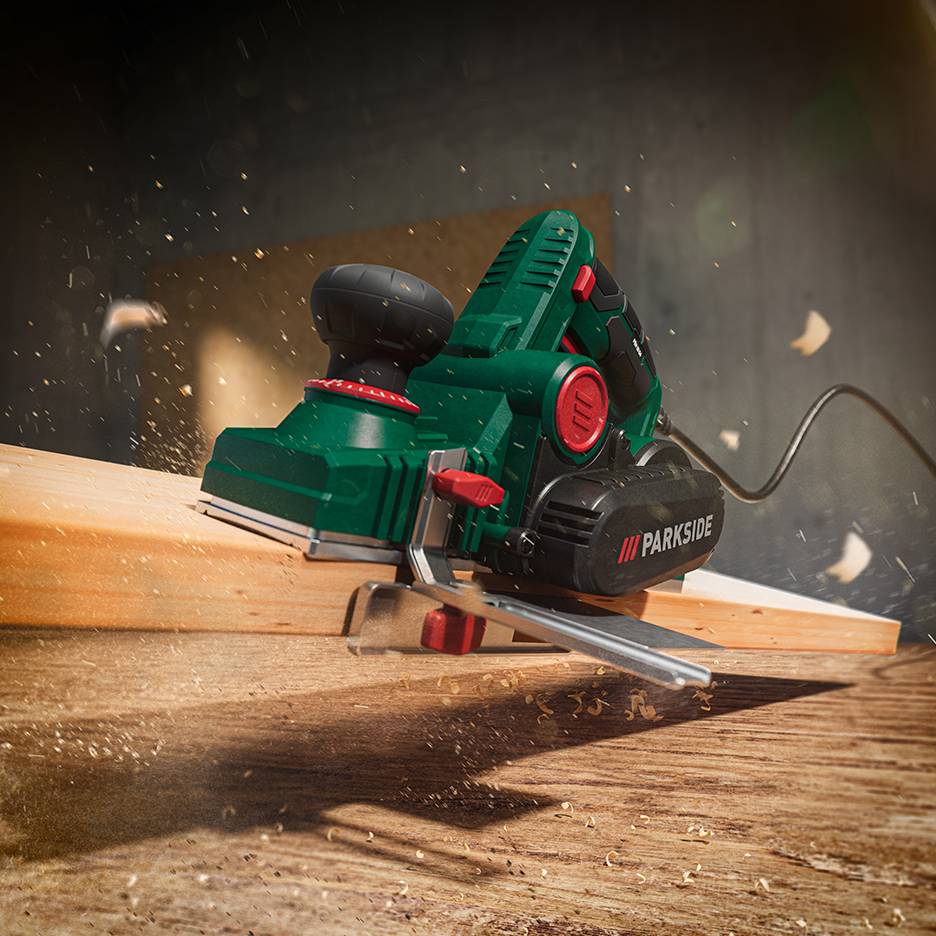
The planer
A planer is used to remove chips from the surface of a workpiece. For example, different types of wood can be planed flat, material thicknesses reduced or surfaces smoothed. There are three different types of planer: wood planes, metal planes and electric planes, all of which have the following basic elements:
Planer body:
The planer sole guides the blade or plane iron, which removes the chips.
Plane iron or blade:
The blade cuts chips from the material and "chips" it.
Clamping device:
It fixes the plane iron. Wood and metal planes are hand planes. However, these are not named after the material to be worked on, but differ in the structure of the planer body. The wood plane consists of a wooden structure, whereas the body of the metal plane is made of steel. The electric planer is driven by an electric motor with a toothed belt and works in a similar way to a milling machine. It has two or more blades that remove material quickly and precisely. All three devices are ideal for planing.
The hand planer is a tool for complex, fine woodwork, such as furniture making. The electric planer is well suited for rough work such as planing planks and floorboards.
4 tips for correct planing
With a few tips and tricks, various types of wood can be easily processed with both a hand plane and an electric plane.
Tip 1: Check the tool
Sharp planing knives or plane irons are essential when planing so that the wood fibres are not torn off but cut off precisely. The blade should therefore be removed from the surface as soon as it becomes uneven. If the blade is uneven, it must be resharpened. A combination stone with a grit size of 1000 to 6000, for example, is suitable for this purpose. Electric planers are usually equipped with interchangeable blades that can be reversed as soon as they become blunt. They are not resharpened, but replaced when they are worn out.
Tip 2: Choosing the Cutting Angle for the Material
The cutting angle refers to the angle between the cutting edge of the blade and the wood surface. It is adjusted for different types of wood during planing:
Tip 3: Do not remove too much material
In order to achieve an even surface, do not remove too much material at once. The planing blade can be set to a low removal rate of 1.5 mm for this purpose. The surface is processed in several passes to achieve an optimum result. Planing depths of 2.0 to 3.0 mm, on the other hand, are useful when levelling edges.
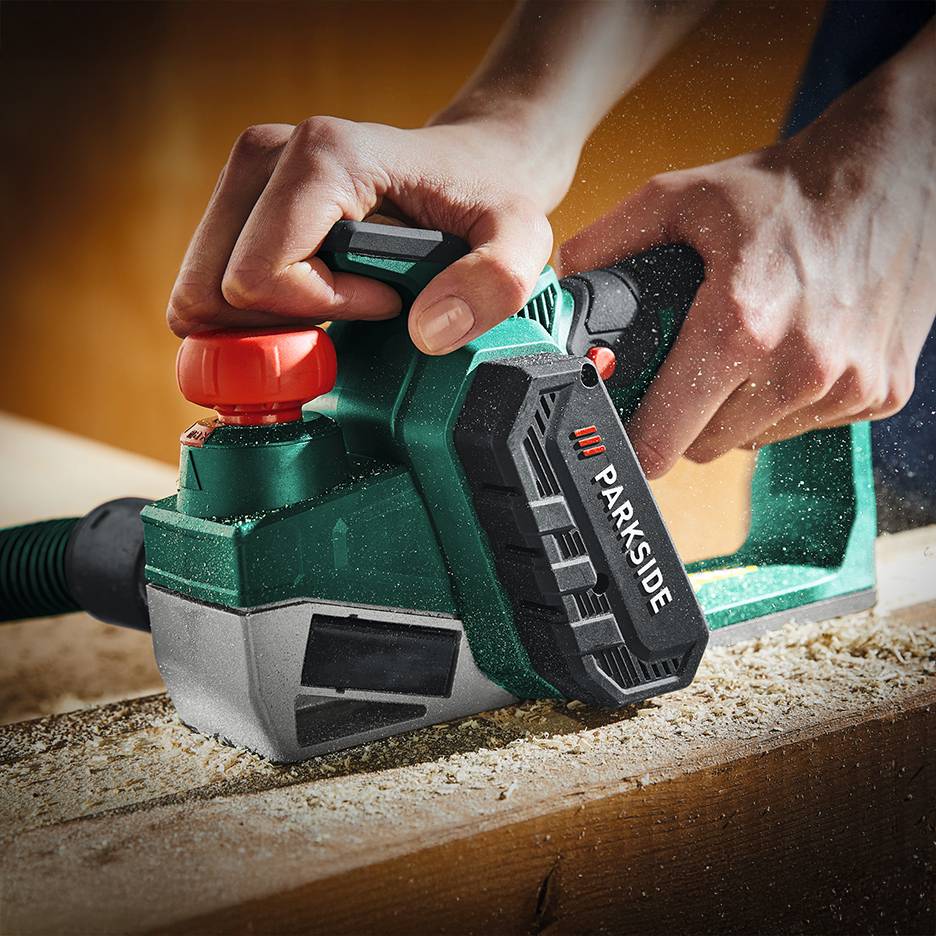
Tip 4: Guide the planer
When planing, it is not just the arms and hands that work, but the whole body. A firm stance at the side of the workbench helps you plane more effectively. The planer should be guided with little pressure at the beginning. The pressure is only increased at the end of the movement.
Questions & Answers
The right technique is crucial when using a hand planer. Although the work requires more power and time compared to an electric planer, you'll get great results. Planing large surfaces is much quicker with an electric planer, but the result is generally less fine. In addition, fine lines at right angles to the planing direction, so-called planing strokes, can appear on the surface if used incorrectly.
In contrast to sanding tools, a plane removes the wood surface layer by layer with a sharp plane iron. Abrasives, on the other hand, are equipped with mineral grains and remove the material through friction. The difference is particularly noticeable when wood is treated with aqueous agents such as varnishes. Cut wood surfaces shine, while sanded surfaces appear matt. However, if large areas are to be worked as quickly as possible, an electric sanding tool is the best option.
Ideally, the wood should always be planed with the grain in order to achieve the smoothest, shiniest surface possible. However, wood is a natural material and the fibres can run unevenly - especially with knotted wood. It is therefore advisable to "test plane" once at the start of the work to determine the direction of the fibres. If the wood frays, the planing direction should be changed. In difficult cases, you can also plane diagonally to the grain direction.
A planer can be used for a wide range of tasks. Examples include:
- Chamfering: Bevelling and rounding off edges.
- Folding: Milling gradations, e.g. as a joining technique in furniture construction
- Shortening: Adjustments to pieces of furniture, windows, doors, etc. to restore functionality
- Smoothing: Fitting warped wood, e.g. drawers
Depending on the type of work in question, care should be taken to ensure that the planing tool is always sharp to effectively prevent tear-outs.
Conclusion
Planing is purely a matter of practice. The more often you do it, the better the results. For many DIY enthusiasts, it therefore makes sense to have both a small-format hand planer and a practical electric planer in the tool cupboard to tackle any planing job no mater how big!